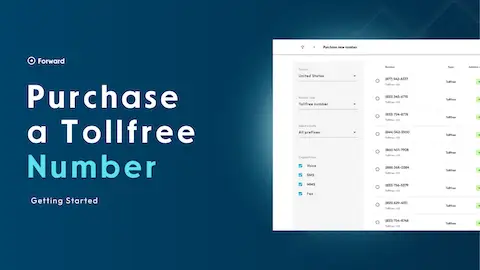
Introduction
Getting a tollfree number for your business has never been easier with forward. A business tollfree number not only makes you look professional infront of your clients but also help you monitor, route and manage calls efficiently as per your convenience.
With Forward, you can purchase a tollfree number for your business and get it up and running in just a few minutes and you don't even need fancy equipments for the setup.
In this tutorial, we will walk through the exact steps on how to buy a tollfree number.
Prerequisites
Before we begin, make sure you have:
- 1. An active forward account.
- 2. A minimum of $ 5.00 usd balance in your account.
- 3. Stable internet connection.
Note: If you don't have enough balance in your account, the you will have to add balance into your account first. You can watch the tutorial for adding balance into your account here.
Step 1: Log in to Your Forward Account
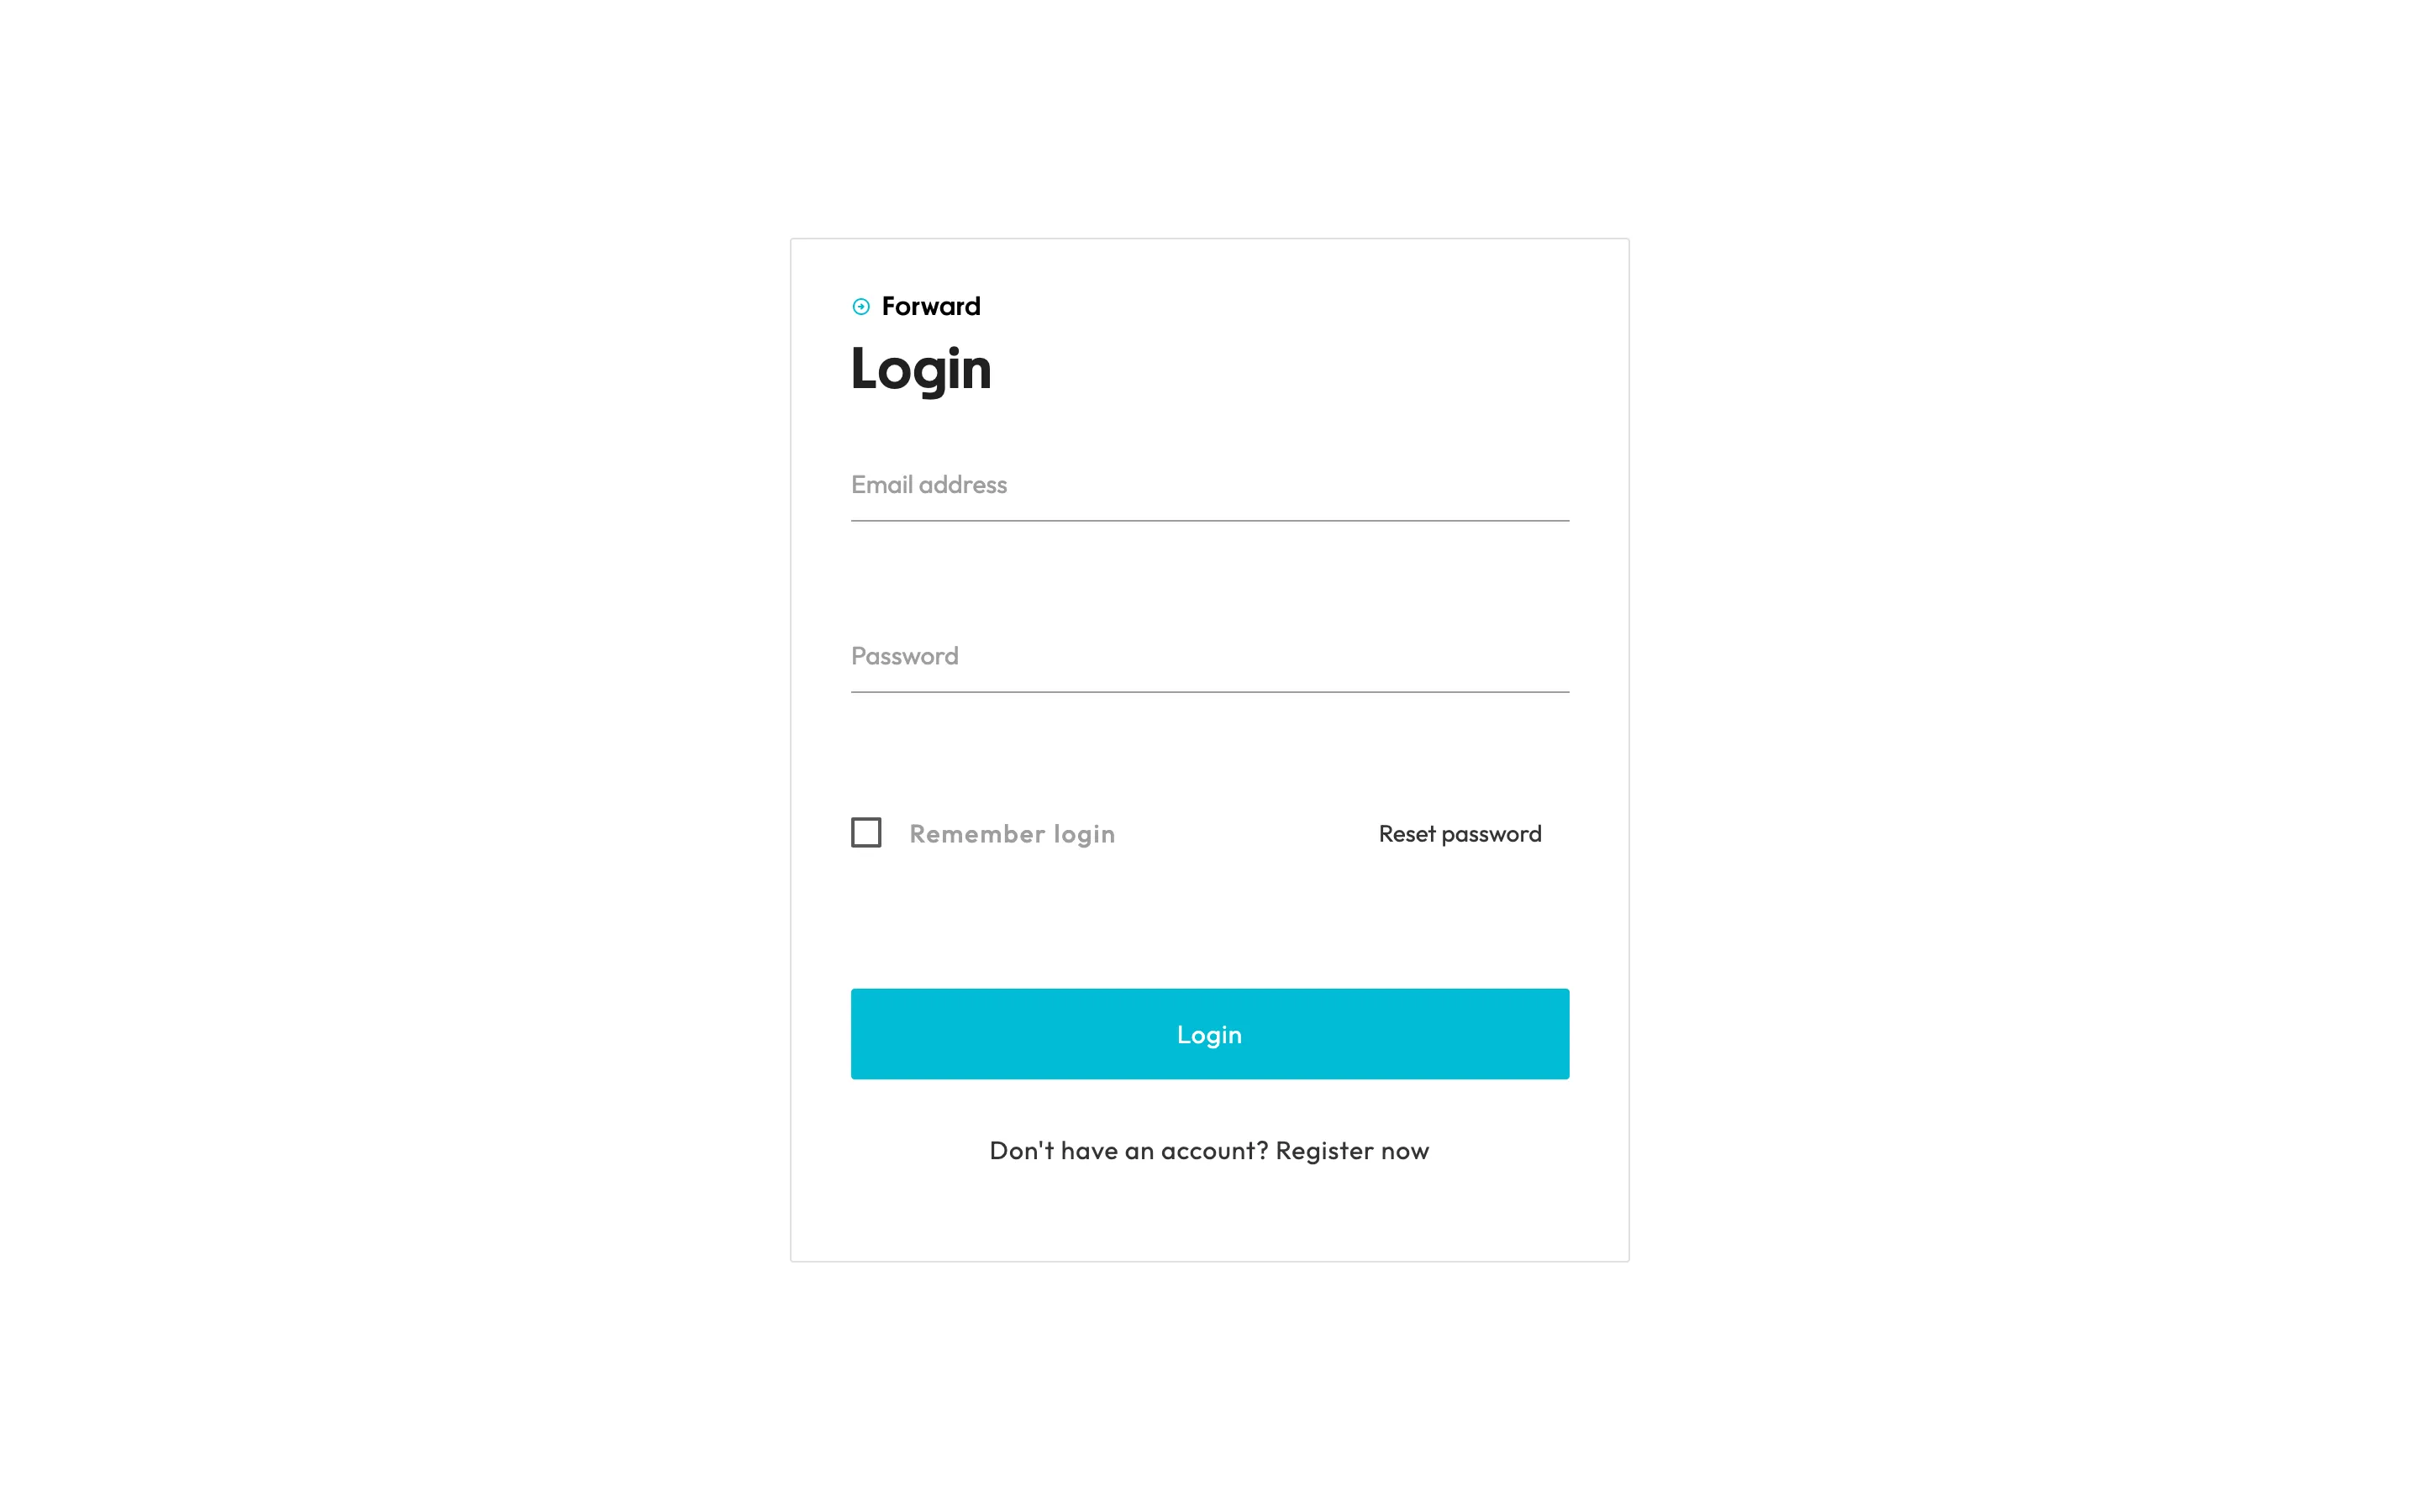
Sign in to your forward account and enter your registered email address and password and click on login.
If you don't have an account yet, you can register for a new account. If you would like to know about how can you register for a new account then click here.
Step 2: Navigate to “Phone Numbers”
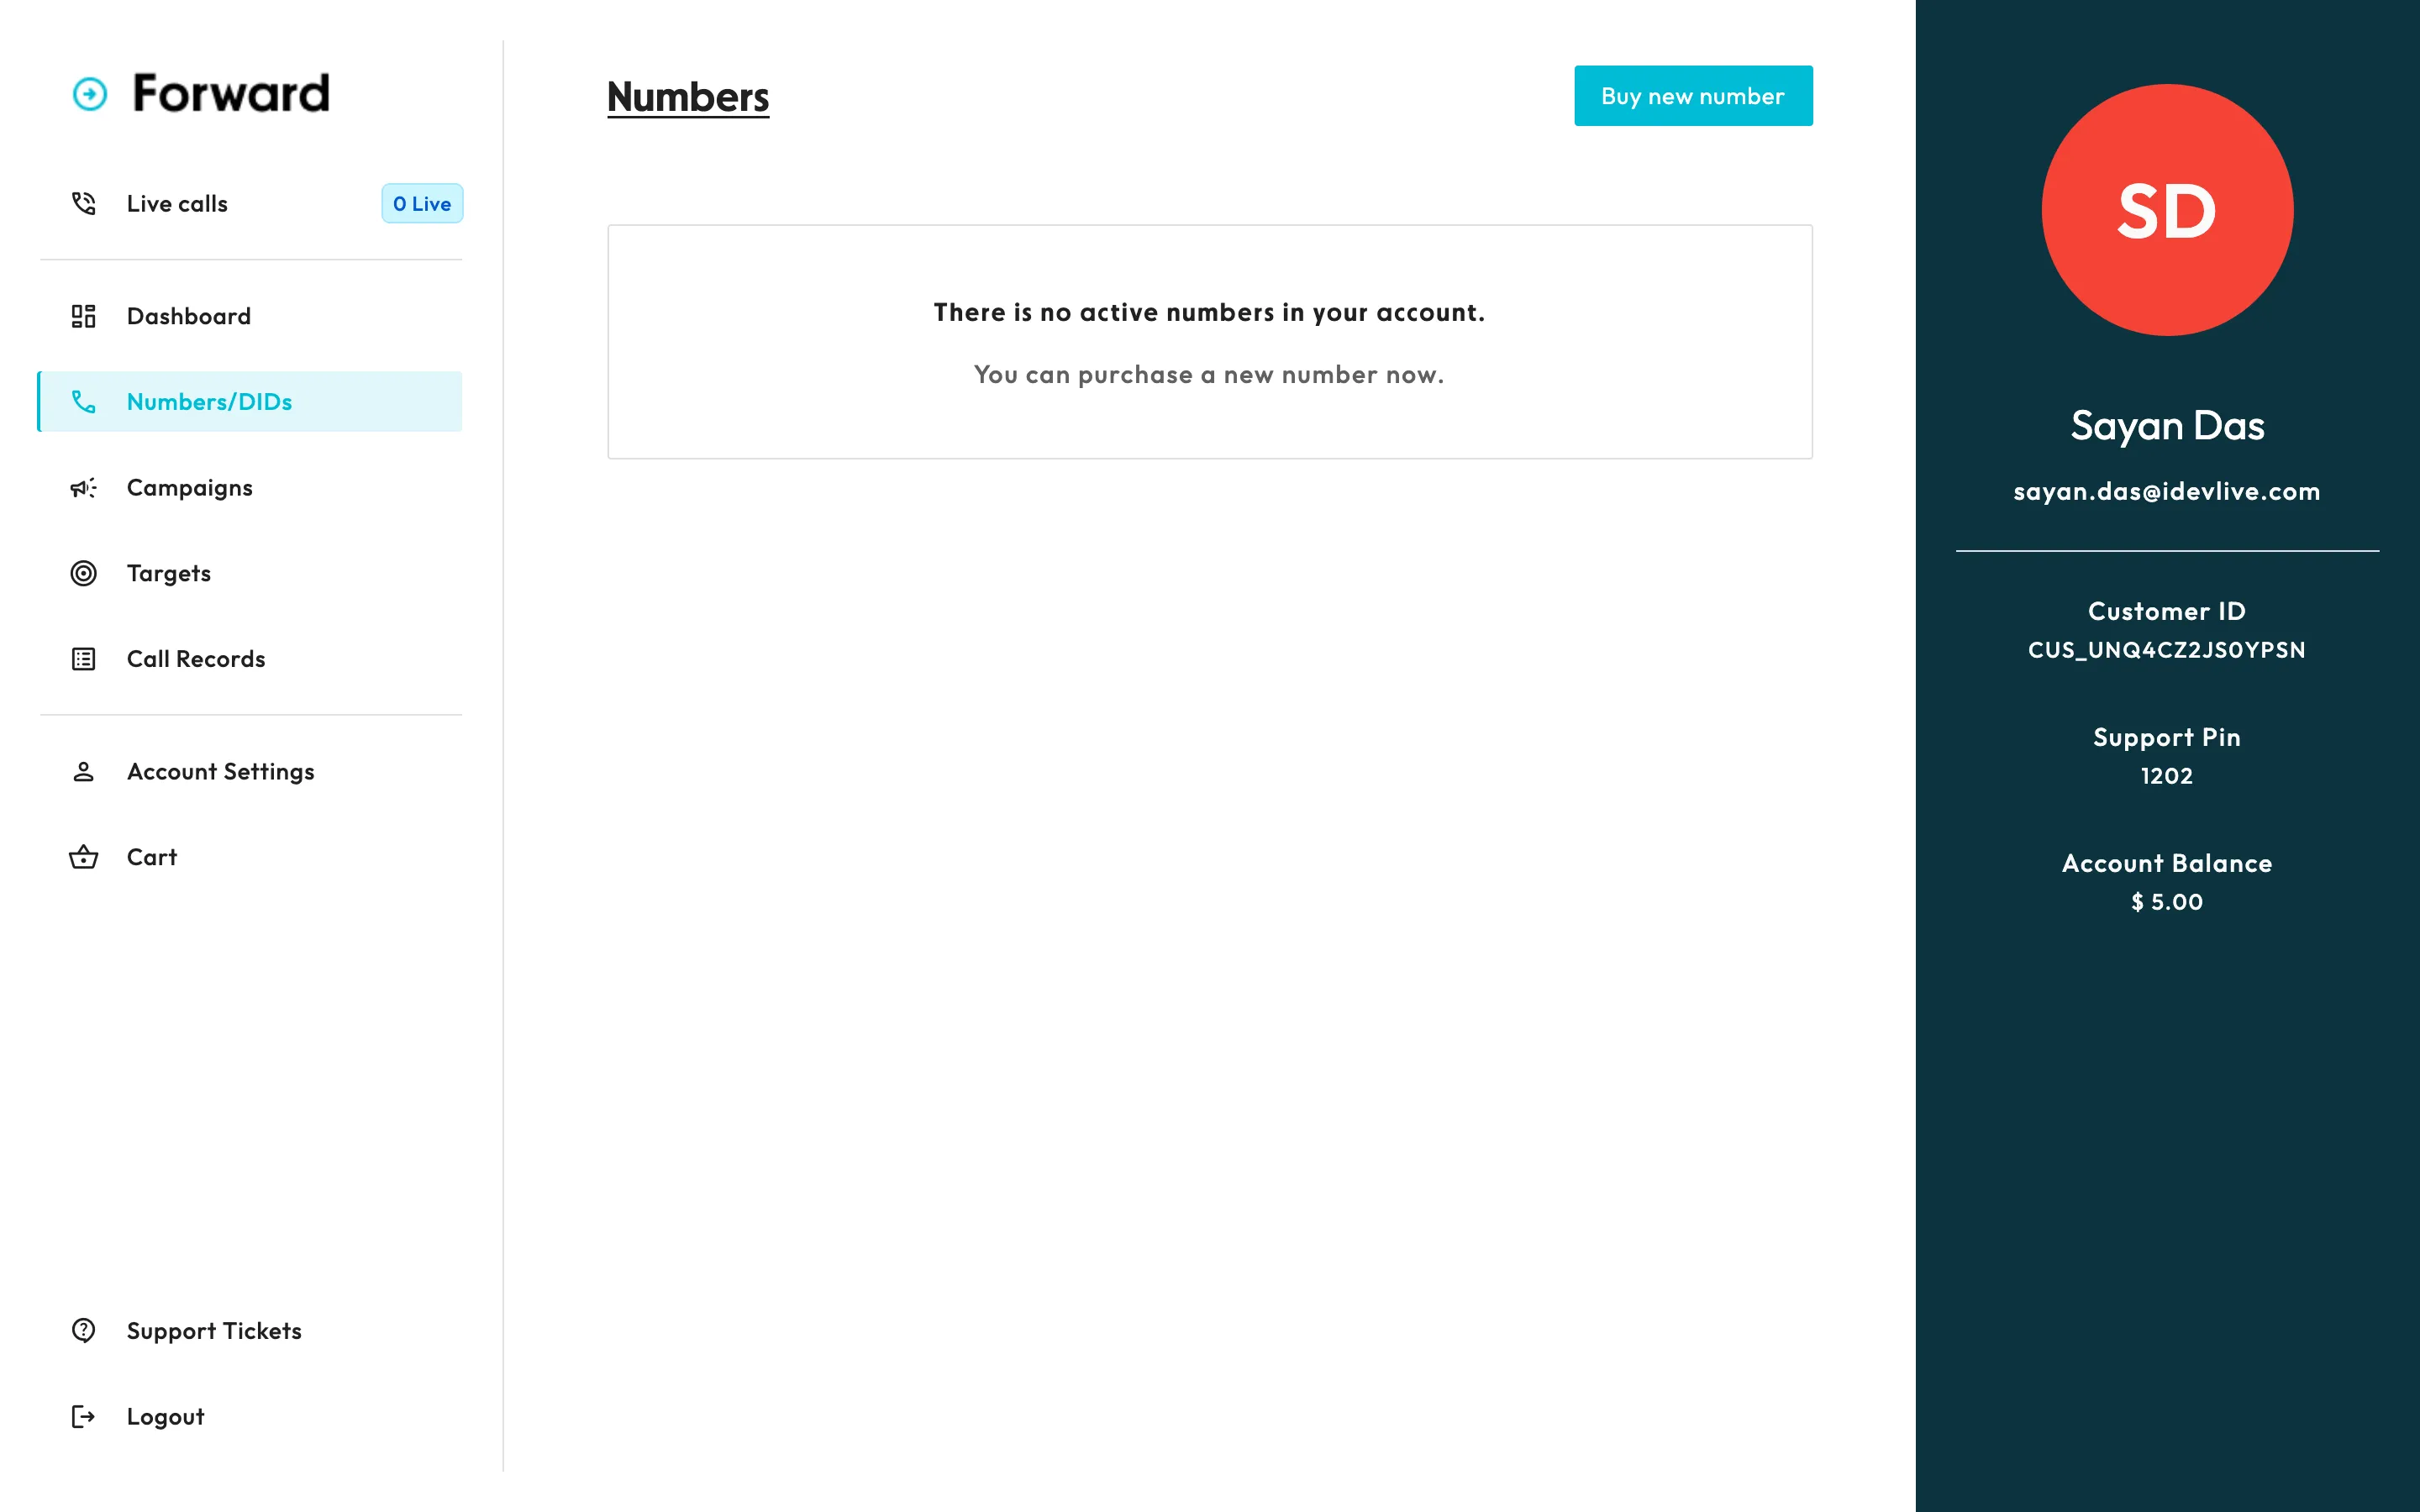
Once logged in, you will be redirected to the dashboard. On the dashboard's side menu (which you will find on the left side), look for the "Numbers/DIDs" option and click there.
This is the screen from where you can manage your existing numbers as well as buy new numbers. On the top right corner, you will see a button for "Buy new number". Click there and you will see the page from where you can buy numbers.
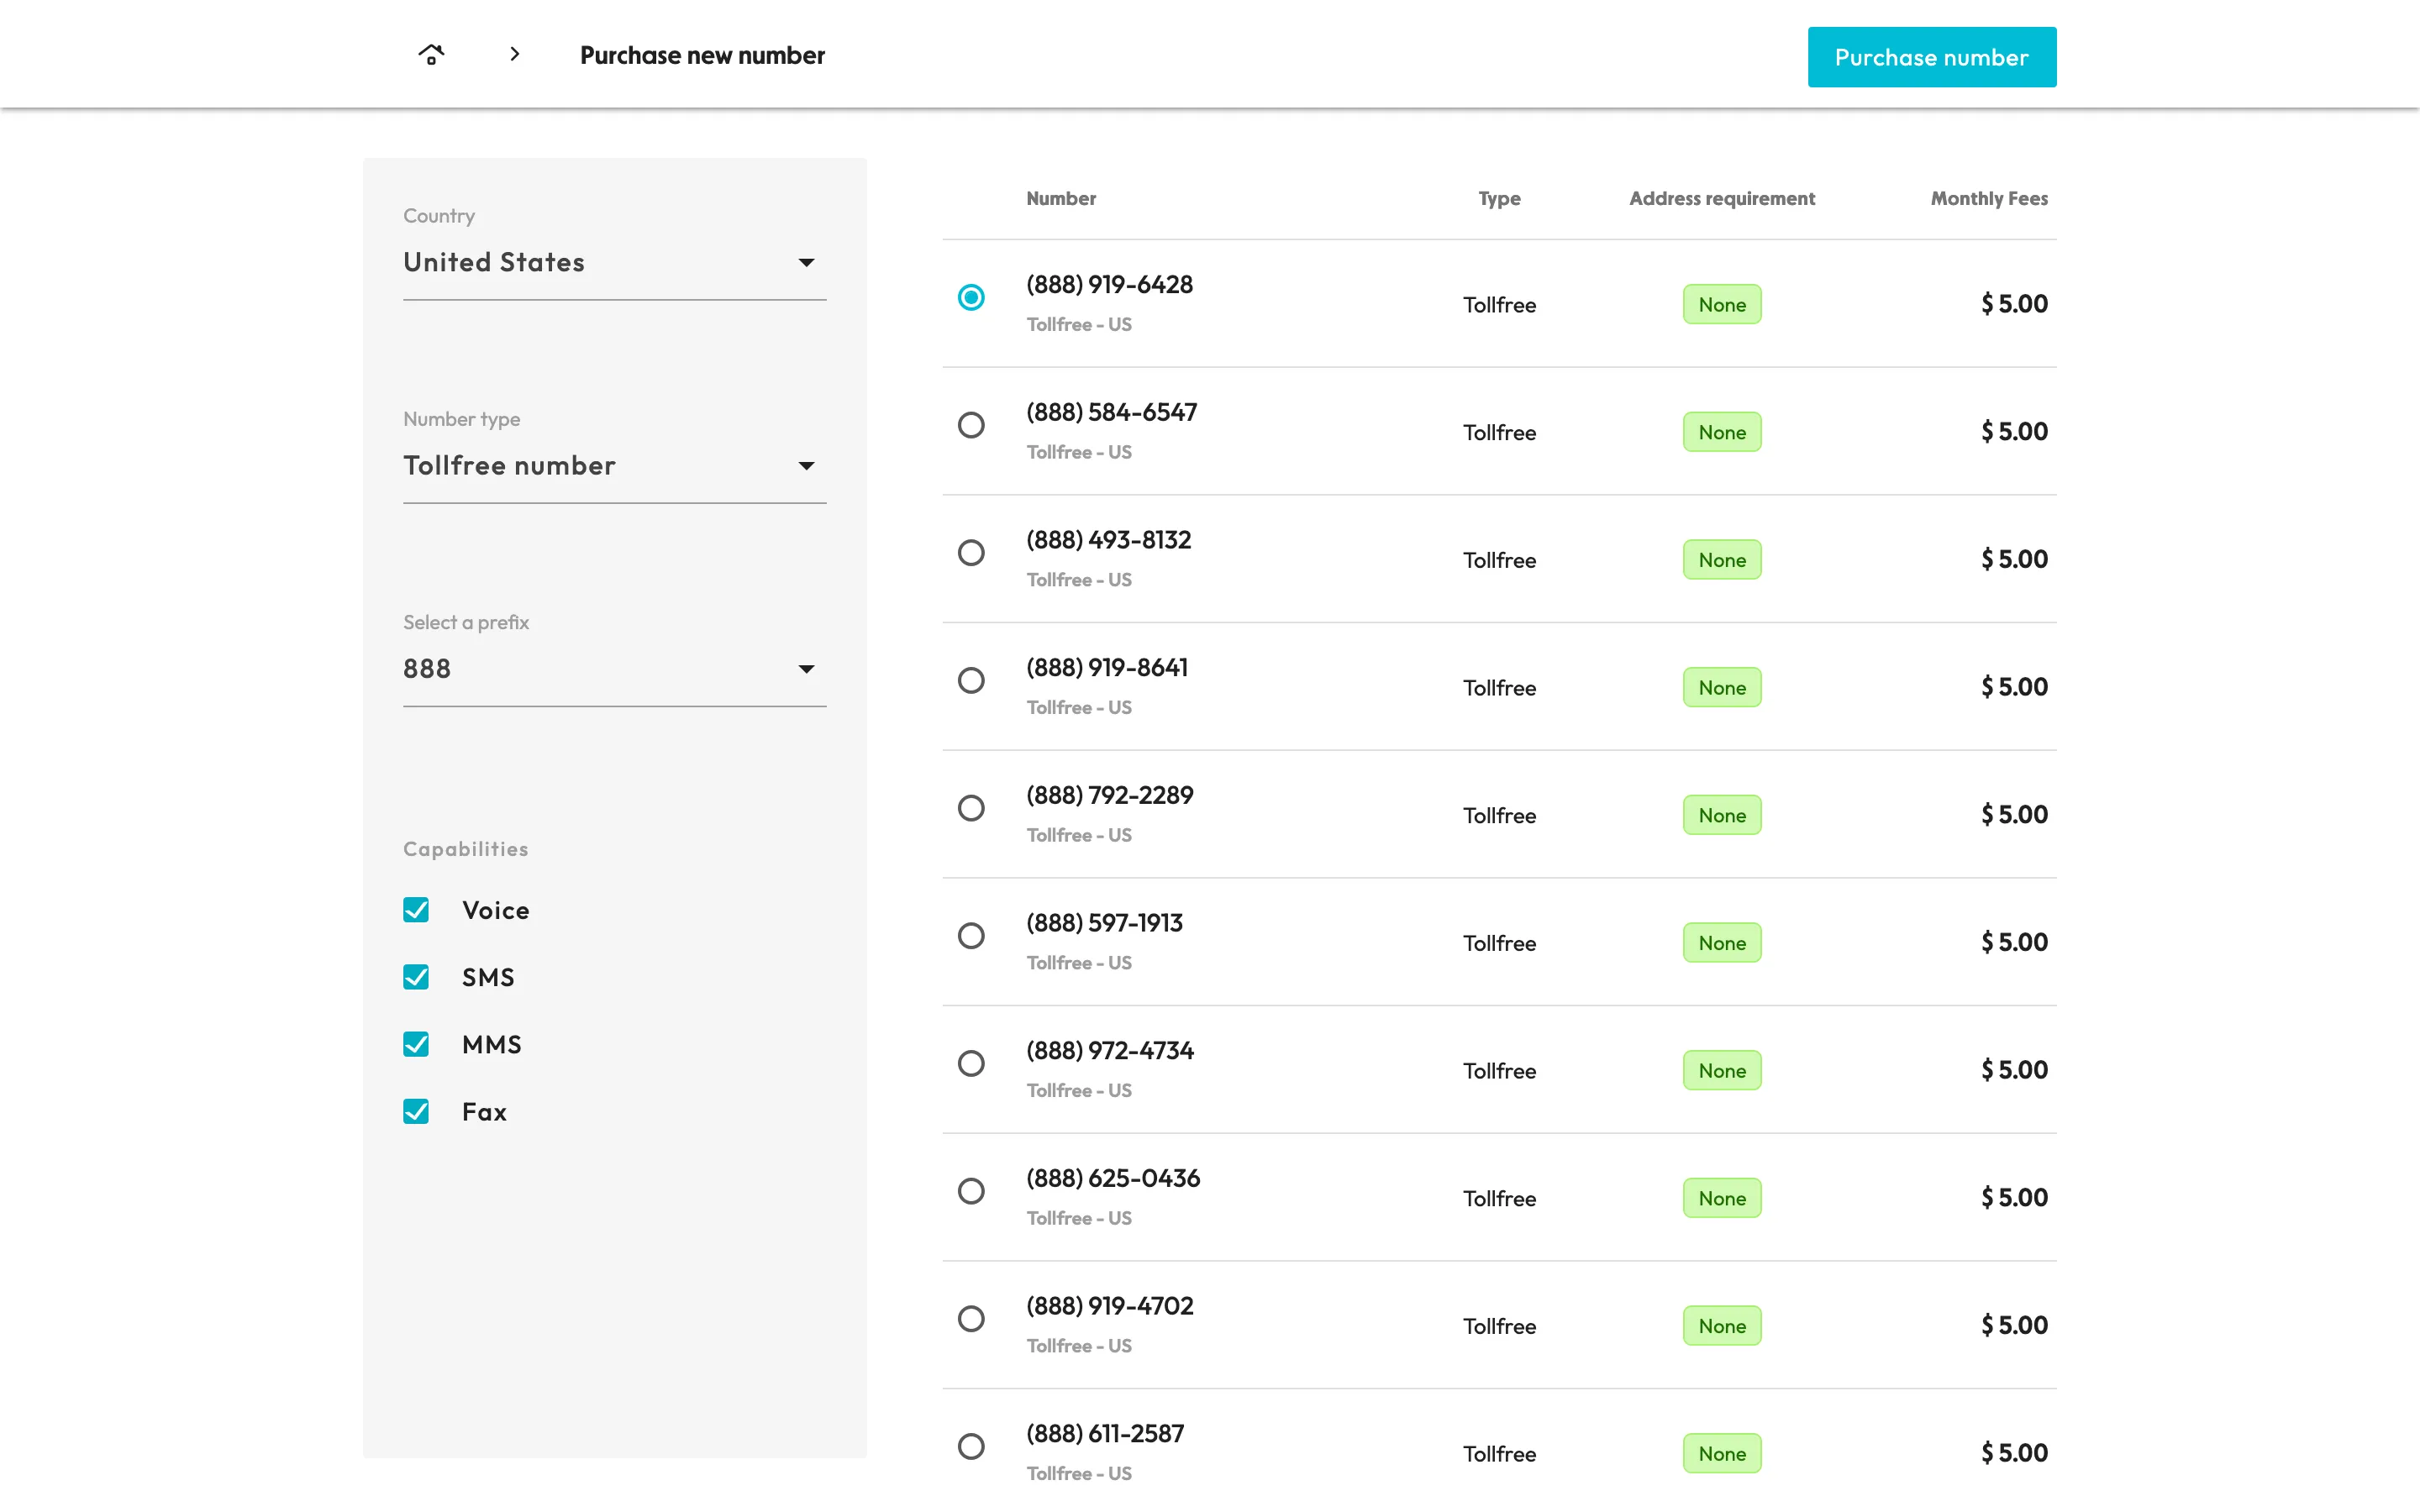
Step 3: Choose Toll-Free Number Type

On this screen, you can customize the type of number you want to purchase on the basis on country, number type (tollfree or local), number prefix and number capabilities.
For this tutorial, we are going with the following options:
1. Country - United States
2. Number type - Tollfree
3. Prefix - 888
4. Capabilities - All
You can customize your number selection as per your requirements.
Step 4: Search & Select Your Number
Once you complete Step 3, you will see a list of available numbers in front of you. You will have to select the number you would like to buy. Once selected, click on the button on top right corner which says "Purchase number".
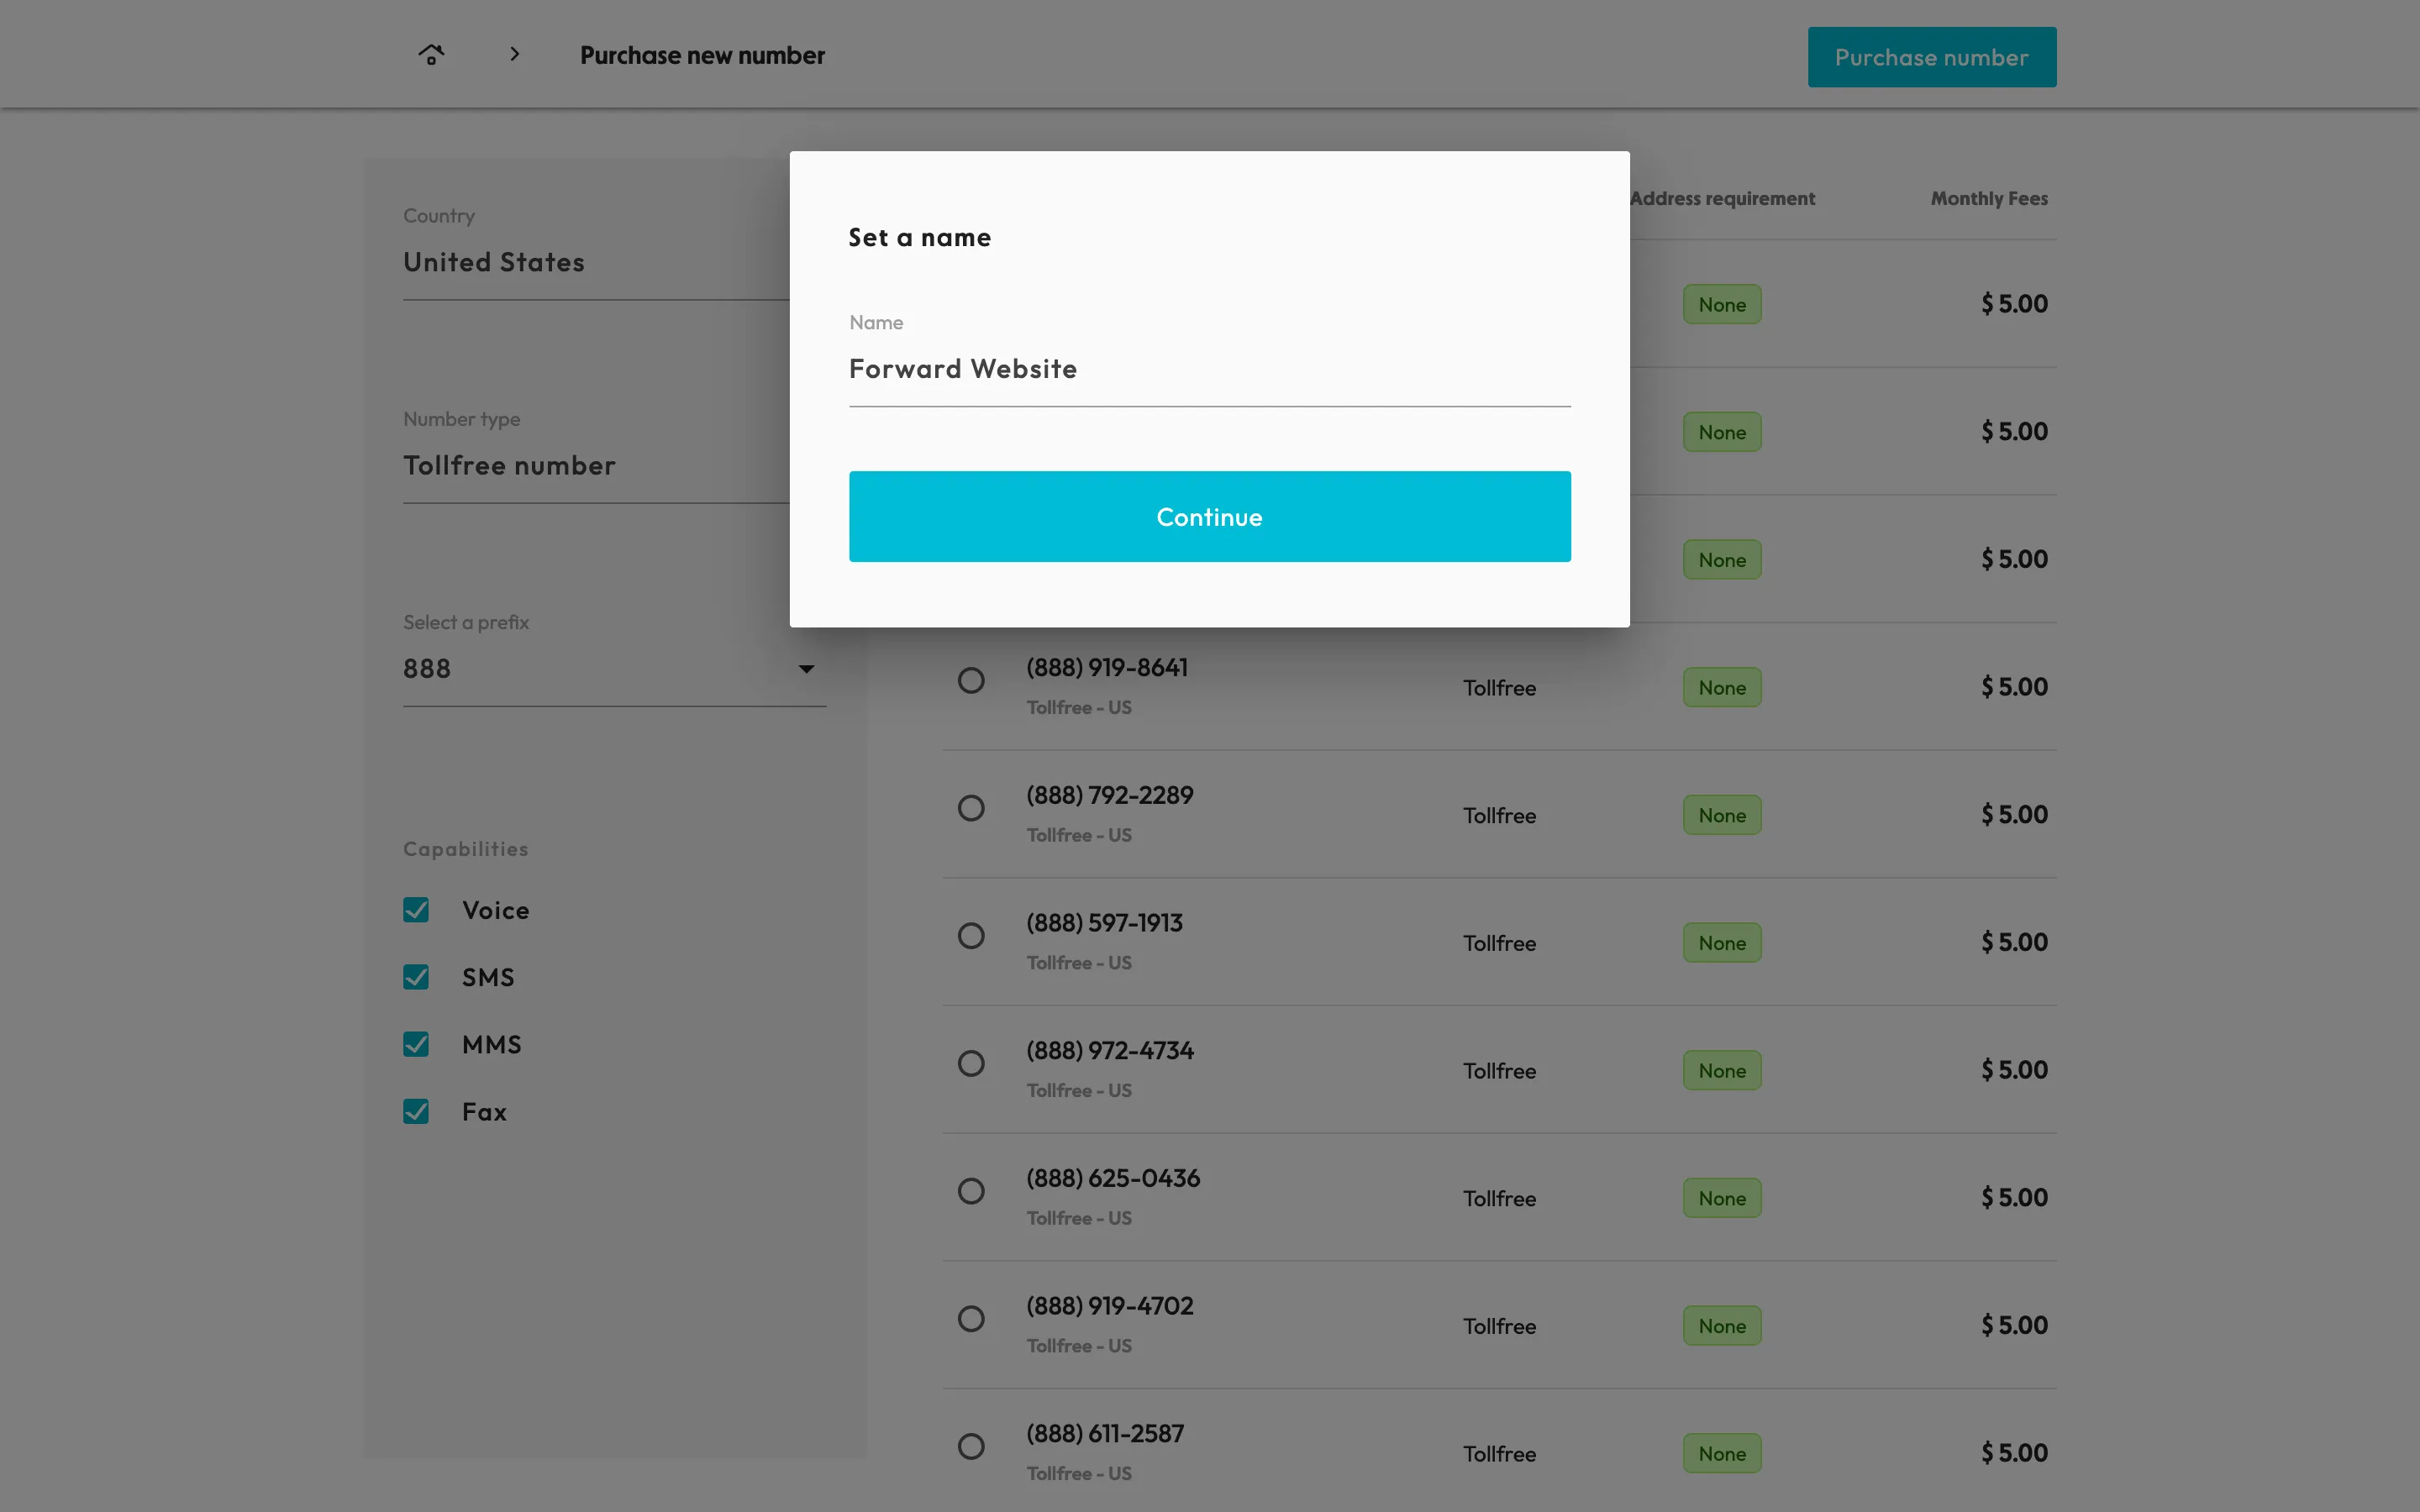
Once clicked, a popup will open in front of you which will ask you to give your number a name. This is required as the name is used for your reference later. You can name it as per your convinience. Most of the users give a name on the basis of where they are going to use the number. For example, here we will name it "Forward website" as we are going to use this number on the Forward website.
Step 5: Configure Call Forwarding
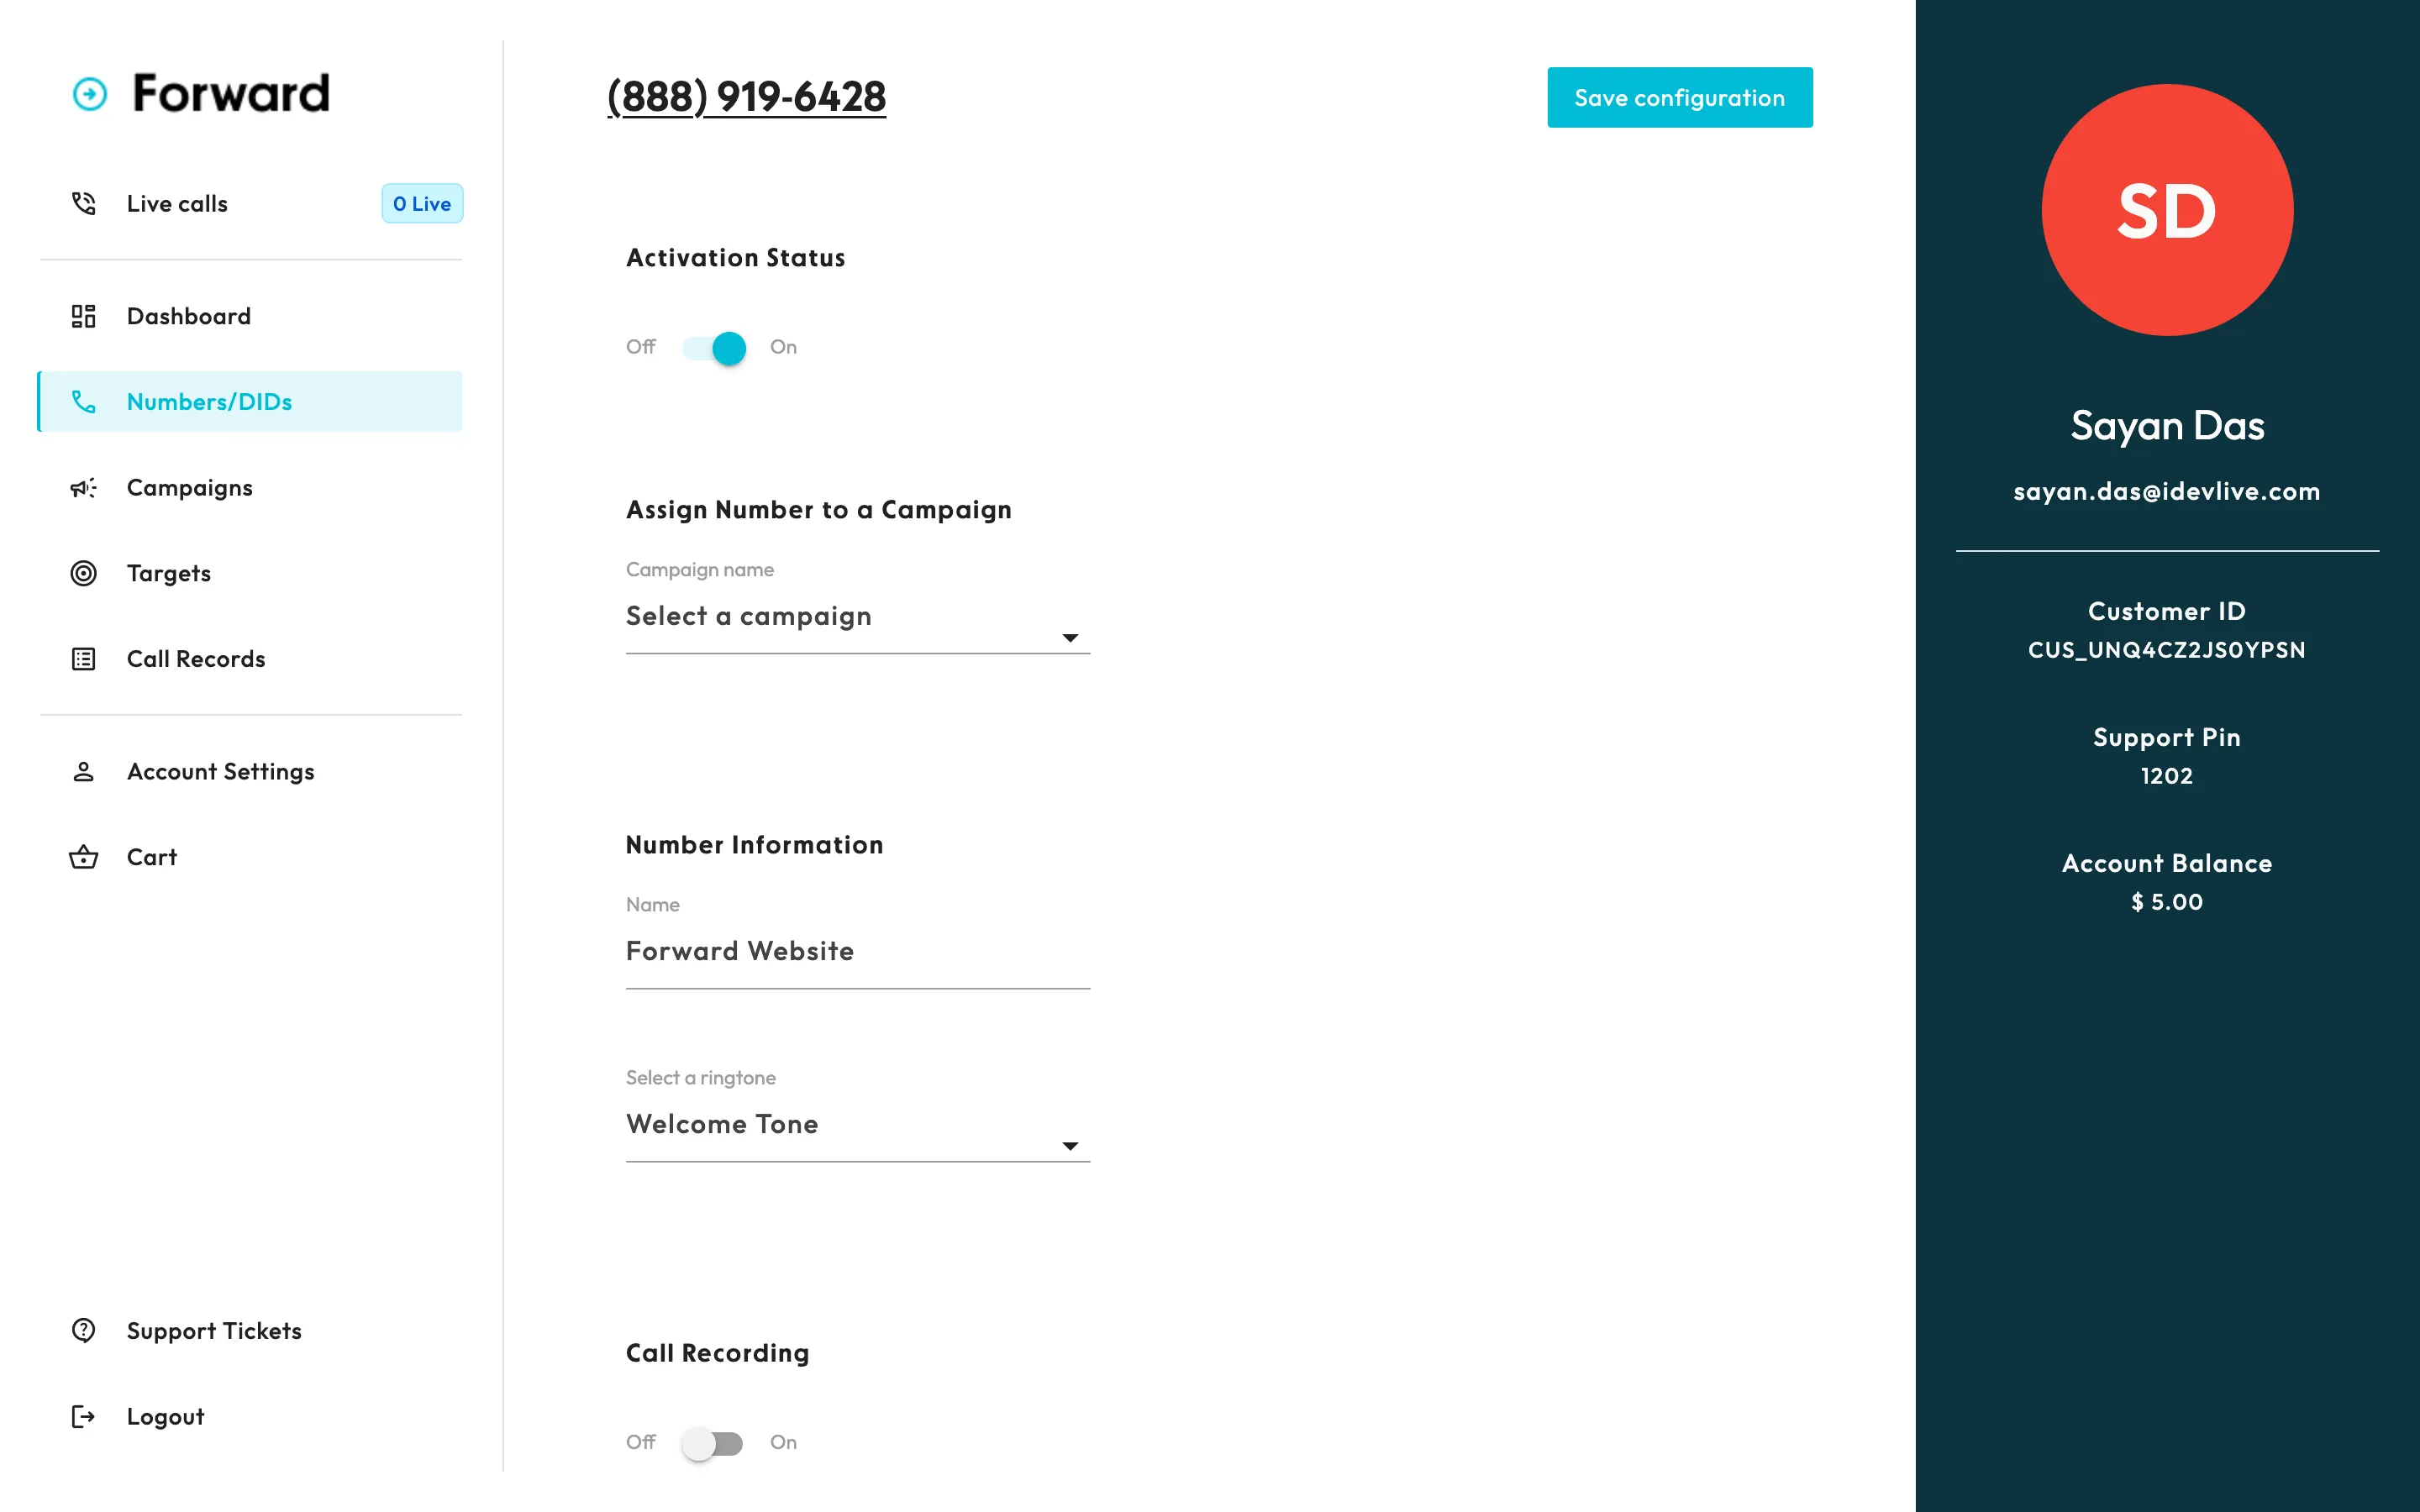
Once the number is purchased, you will be automatically redirected to the page where you will see the purchased number. You can manage and configure your number from this screen.
To make the number working, you will have to assign it to a campaign. To assign the number to a campaign, click on the number and you will be redirected to the page where you can complete this process.
All you have to do here is check the number status (and switch it to active if it is disabled) and click on the dropdown which says "Select a campaign". Once you click, it will give you a list of available campaigns. If there are no campaigns available, then you will have to create a new campaign first.
Note: Once you setup the number, make sure targets (where you want to route the calls) are assigned to your target.
What To Do Next
Now that we have purchased and configured the number: